How to Thai Curry
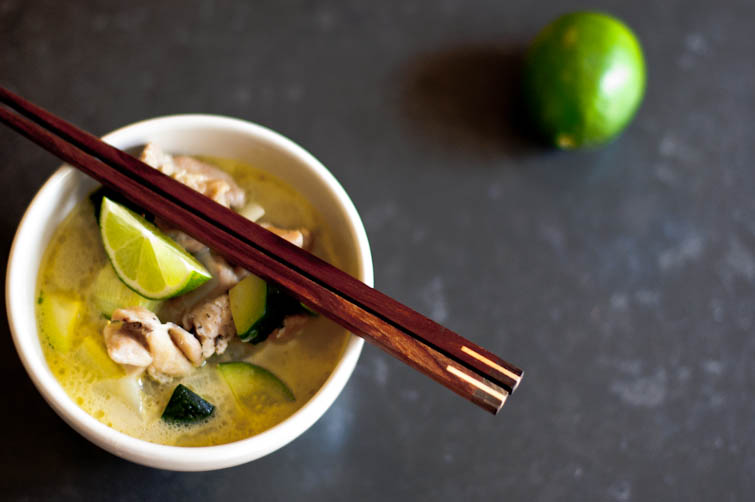
I absolutely love the flavors of Thai cooking. For a long, long time though, I thought it wasn’t something you could easily make at home, so I had set it aside in my “Ethnic Food Only for Eating Out or Takeout” category (this is also where monster burritos reside). But then I had a friend make a red curry for me, and I saw how simple it was. With the exception of the curry paste, it turned out I already stocked most of the ingredients for a Thai curry sauce – fish sauce, brown sugar, stock / broth, coconut milk, limes (cause you never know when an impromptu margarita is in order). Since that discovery, I have tried making my own curry paste but realize I am not a Thai grandmother and sometimes shortcuts are better.
In general there are three types of Thai curry paste – red, green, and yellow. There are a variety of brands out there at your grocery store (even most non-ethnic grocery stores have a small Asian section), so experiment and find the one you like best. Different brands will differ in spiciness, savoriness, and / or sweetness. Read the ingredient list to get a sense of what kind of herbs and spices have gone into your curry paste (in the case you should ever want to replicate from scratch). I’ve had several brands of curry pastes (e.g., Mae Ploy, Thai Kitchen, Trader Joe’s) come through my kitchen, but my favorite has been a recent discovery by a brand called World Foods, purchased at my local Whole Foods. I have both their red and green curry pastes (in photo below), and I like them because they’re relatively mild, making them a good intro to curry for kids. However, regardless of what you end up choosing, remember to truly experience your curry paste – have a small taste of it when you open it. Is it more tart? Sweet? Hot? Know what the base tastes like before you build more flavors on top of it.
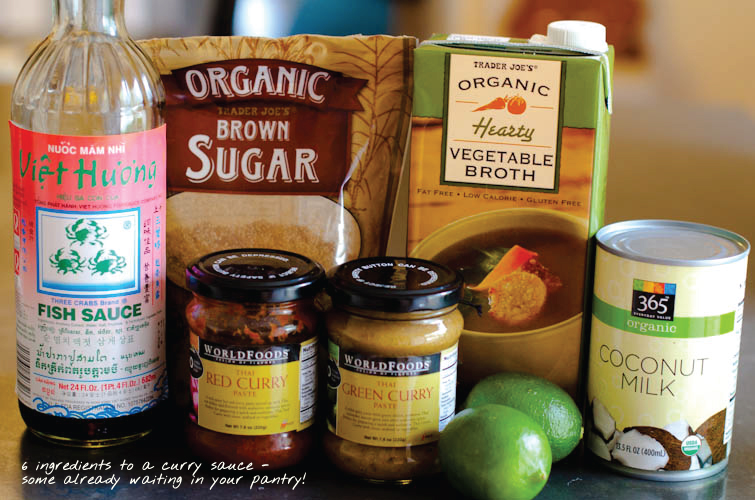
Once you’ve got your 6 sauce ingredients together, the next step is to decide what you’re going to put in your tasty curry. Combinations are endless, which is why this is such a useful and versatile cooking formula to learn. Once you know the method, you can Thai curry just about anything. Some of my favorite combinations are:
- Tofu, kabocha squash, and red pepper (in a red curry)
- Shrimp, pineapple, and tomatoes (in a red curry)
- Chicken, zucchini, and onion (in a green curry)
- Broccoli, tofu, and jalapenos (in a green curry)
- Cauliflower, chickpeas and peas (in a yellow curry)
- Beef, potatoes, and carrots (in a yellow curry)
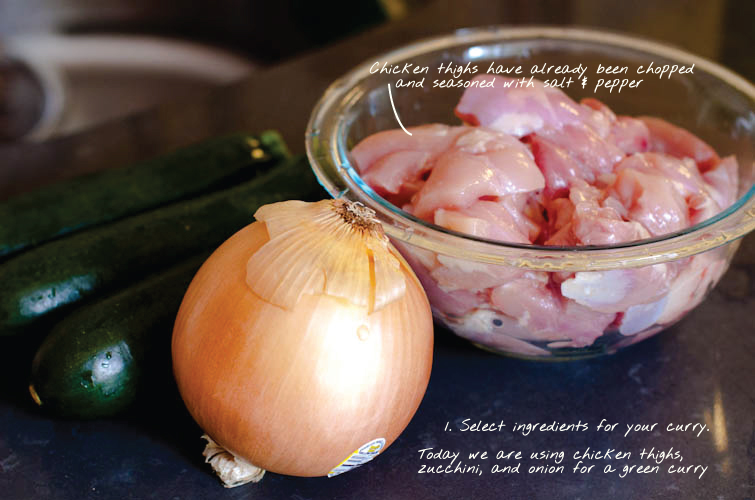
Just like our stir-fry cooking formula, when you are prepping the ingredients, you should chop them into similar sized pieces, so they’ll cook through evenly.
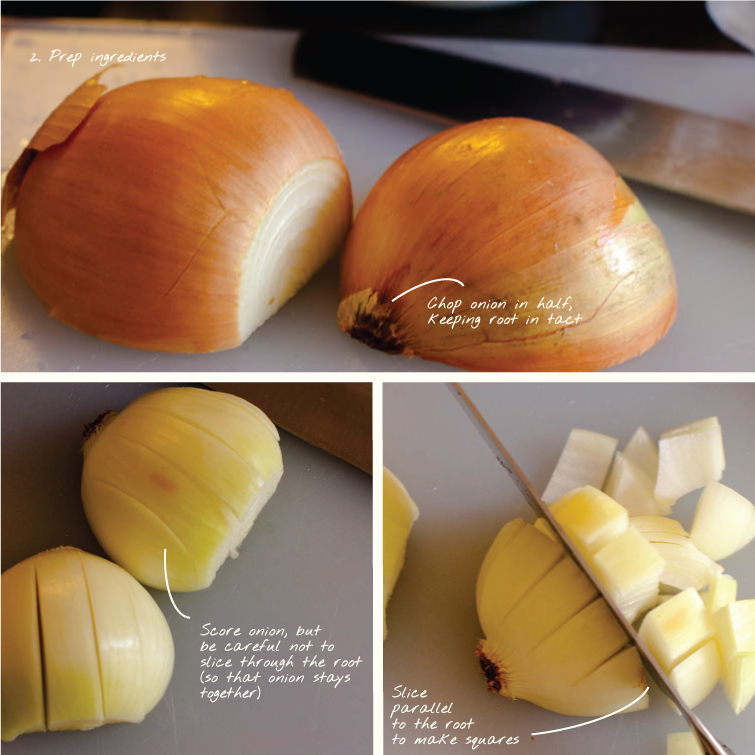
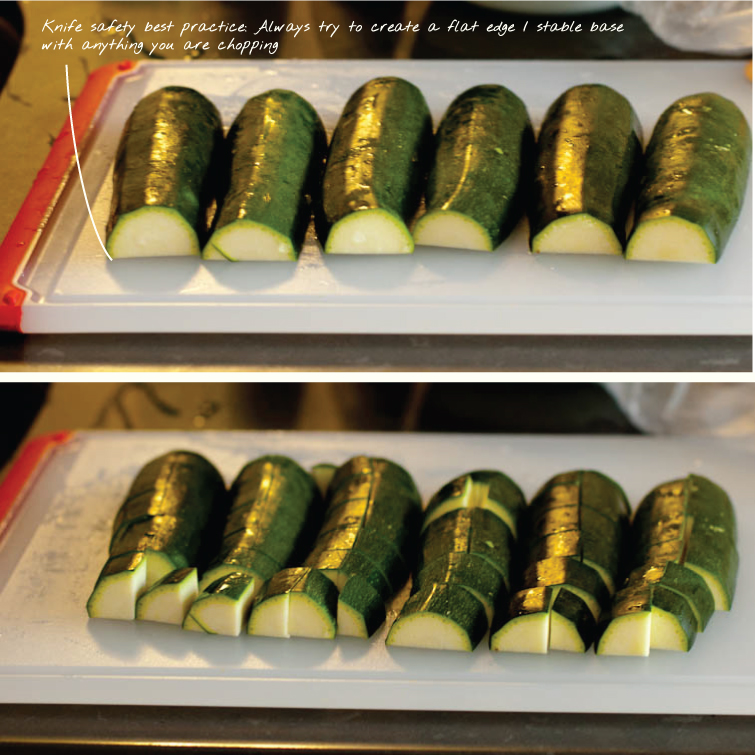
And remember to always employ knife safety best practices. Most vegetables aren’t flat, but you should try to create flat, stable base for chopping. A rolling vegetable is a dangerous one!
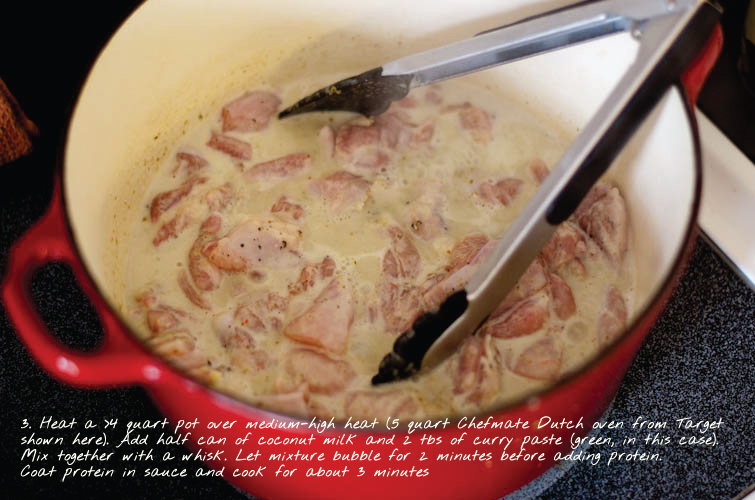
The fun part comes after your ingredients are prepped and you get to drown your ingredients in a delicious curry sauce. I like to prepare my curries in my 5 quart Chefmate Dutch oven from good ol’ Target (no longer sold, but here are some other options from Target). Start with half the coconut milk, 2 tablespoons of paste (remember you can always add more later, but you cannot take out), and the protein you’re using.
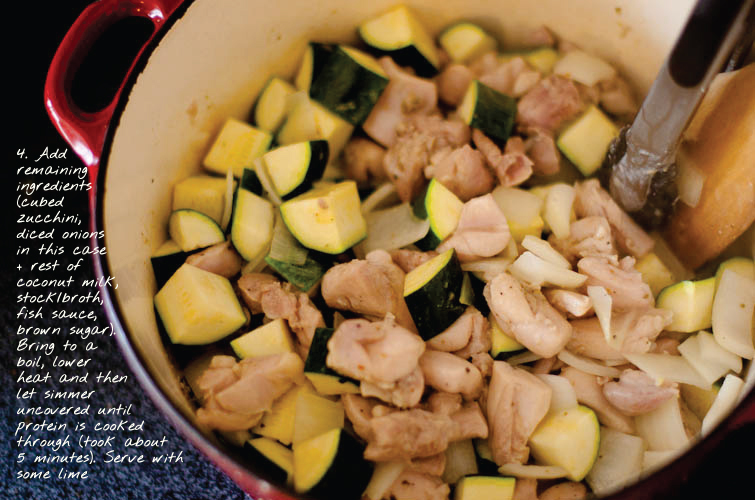
Then finish with the rest of the ingredients (proportions below). Bring to a boil, and then let simmer until protein is cooked through. How do you tell? You can use our handy dandy timing cheat sheet below or just take a piece out of the pot and slice it in half. If you’re working with chicken, make sure it’s no longer pink / fleshy inside. Lastly, remember to taste, and then trust your taste. If you think it could use more heat, add more of your curry paste (or if you have chili sauce, a squirt of that). If it needs more sweetness, add more brown sugar. More savoriness? Then perhaps another half tablespoon (or go wild with a full!) of fish sauce. When I cook with my clients, I have them taste after each dish and tell me what it needs. The first time, most reply with a question vs. a statement. Salt? Acid? But after a few pushes, they learn to trust themselves. After all, we’ve been eating a long, long time. Your taste buds are more experienced then you may give them credit for, so just learn to trust them.
Basic Thai Curry Cooking Formula
{serves 4 on its own, more if paired with other curries}
Ingredients
- 1 lb. protein
- ~4 cups of vegetables
- Typically 1 onion
- 1 lime, quartered or eighth
Curry sauce ingredients
- 2 tbs. curry paste
- 1 14 to 16 oz. can of coconut milk
- 1.5 cups of vegetable broth / chicken stock
- 1 tbs. of sweetener (e.g., brown sugar)
- 2 tbs. of fish sauce (can be purchased in most grocery stores in the Asian section, or of course Amazon)
Prep
- Protein: Chop into similar sized bite-sized pieces; for meat proteins, season with salt & pepper, and tenderize
- Vegetables and onion: Chop into similar sized pieces
- Store in separate air-tight containers / bags if not using right away
Make
- In a sauté pan or Dutch oven, bring half can of the coconut milk to a gentle boil over medium high heat; cook for 2 to 3 minutes until fragrant & beginning to thicken
- Add curry paste and cook for another 2 to 3 minutes, using a whisk to incorporate paste & milk (start off with less if you don’t know how spicy the paste is – more can always be added later)
- Add onion and saute until softened, ~3 minutes
- Add protein, tossing so that they are coated with the sauce
- Add rest of coconut milk, stock/broth, sugar, and fish sauce. Stir through and then add vegetables. Bring to a boil with or without cover
- Remove lid, and reduce heat to maintain a lively simmer, stirring every so often until everything is cooked, which will vary by meats. Wide time ranges below depend on how thickly cut the meat is. There will also be some carryover cooking, so even after you turn the heat off, it’ll still cook for a bit
- Beef = 4 to 10 minutes
- Chicken = 5 to 12 minutes
- Pork = 5 to 12 minutes
- Fish or shellfish = 4 to 7 minutes
Serve with
- A squirt of lime juice
- A bowl of jasmine or brown rice
- Just make the sauce with some veggies and serve with a fillet of baked fish
