The Big Reveal: My Kitchen Remodel
I’m so excited to show off my new kitchen today! We wrapped up the renovation earlier this month, and I’ve been so excited and busy moving back in that I didn’t get a chance to snap some photos until last week.
Before . . .
This was actually quite a big project because we pushed the front of our house out so exterior walls were knocked down. Below is our front garden, which never really was our taste and also wasn’t a space we used.
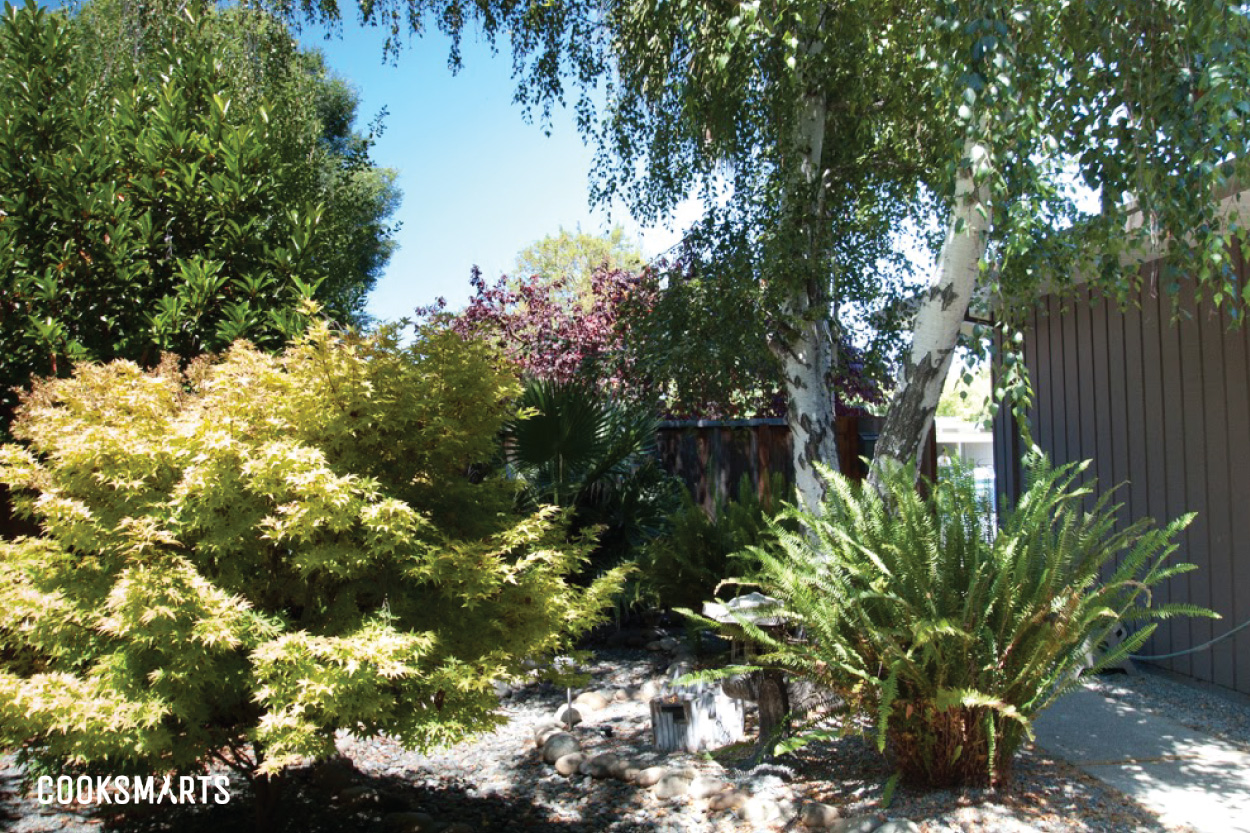
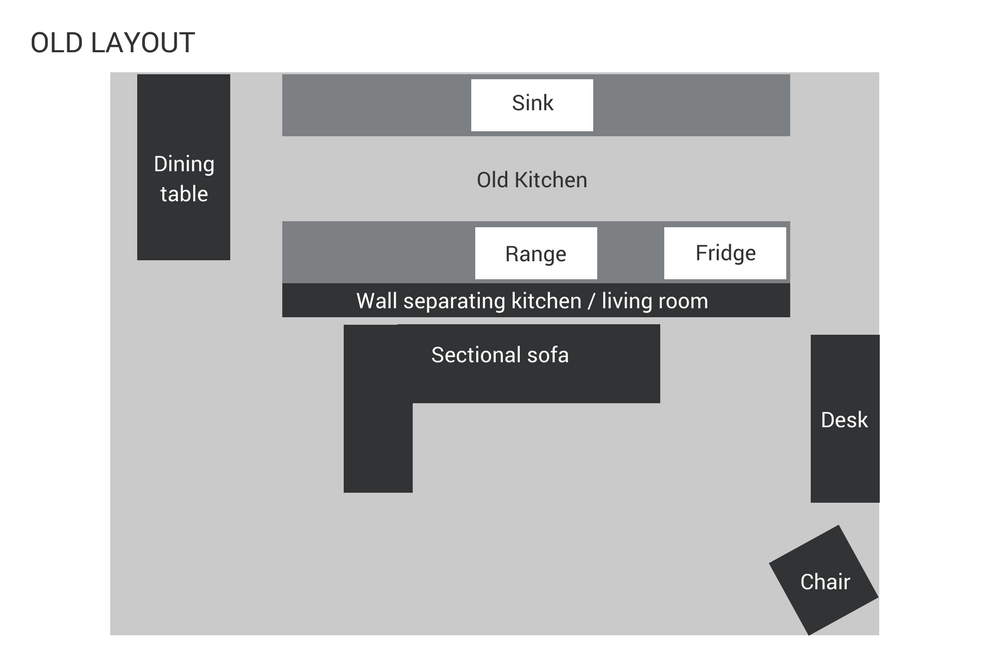
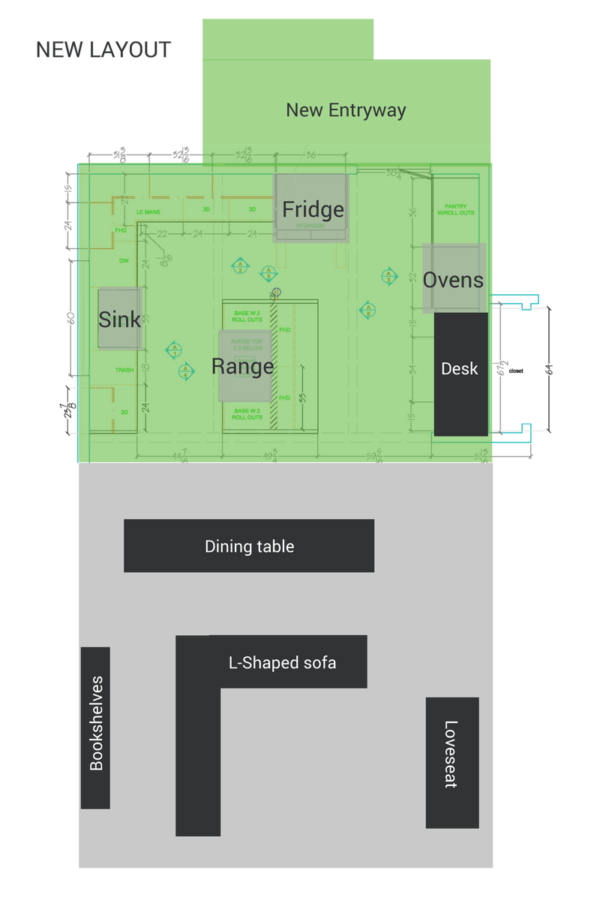
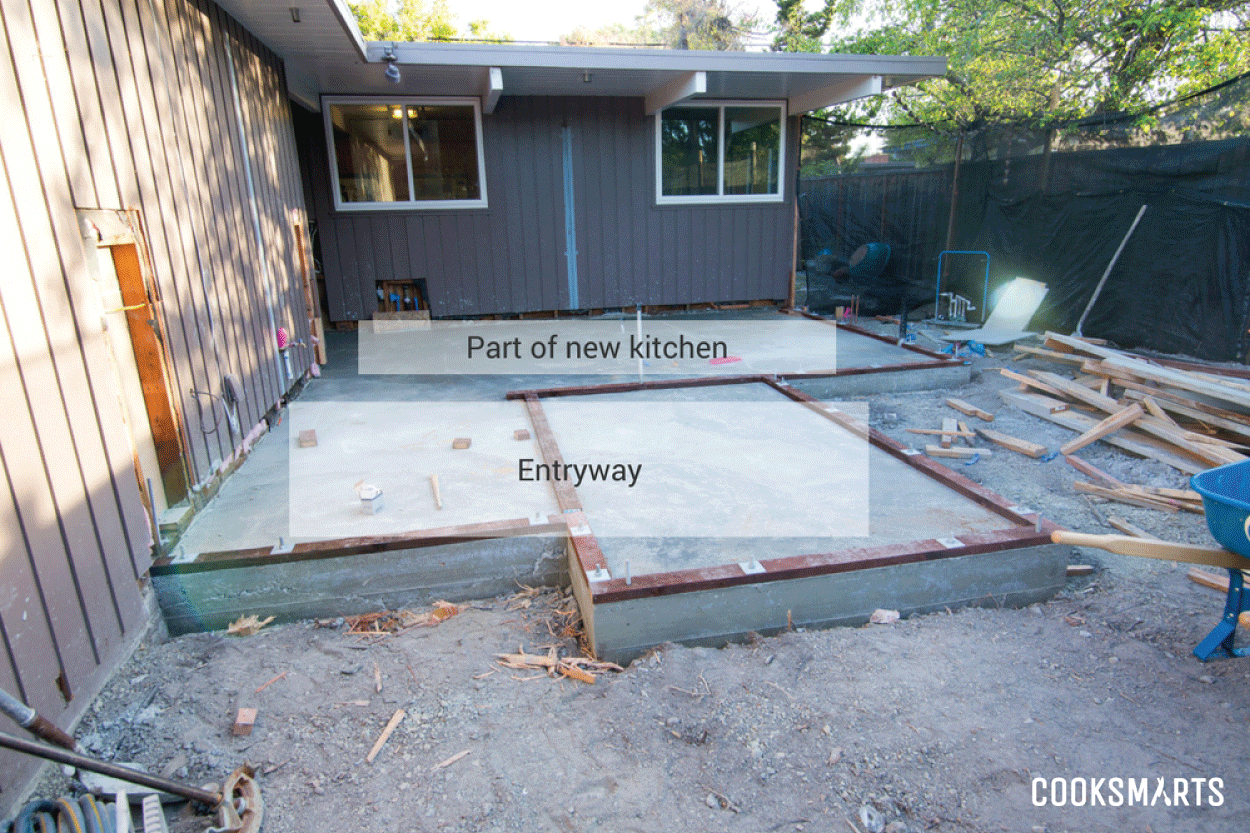
It seemed like the perfect space for a small little entryway area, as well as a brand new kitchen. Below I’ve put together a very rudimentary diagram of how we changed the footprint and layout of the house. In the new layout, everything in green is the area we added.
Here’s the foundation of the new area being put in:
As a reminder, this is what my old kitchen looked like:

It was a galley-like kitchen, which felt fairly cramped when we had more than 2 people working it. Aesthetically, it wasn’t my jam. And lastly, the range, oven and rangehood were less than spectacular. I had a finicky electric range and basically only one burner was strong enough to boil water; the oven would more often steam than roast; and the rangehood was one of the microwave types, which basically doesn’t do any venting at all.
So if you think you need to have a fantastic kitchen to cook and entertain as much as I do, my old kitchen is proof that you don’t.
However, since I’ve made a career in cooking, a new kitchen seemed like a worthy investment. I knew it would get a lot of use and a lot of love.
Here are some during construction photos and yes, I brought a newborn home during all of this. We still had access to our bedrooms and bathrooms but moved our kitchen, dining and living spaces to our garage.
My parents have also been staying with us to help out with the baby so the garage was also their bedroom. They were such great sports and a huge help through all of this, even when we were potty training my daughter and she was literally peeing everywhere in their “bedroom” and our eating area.
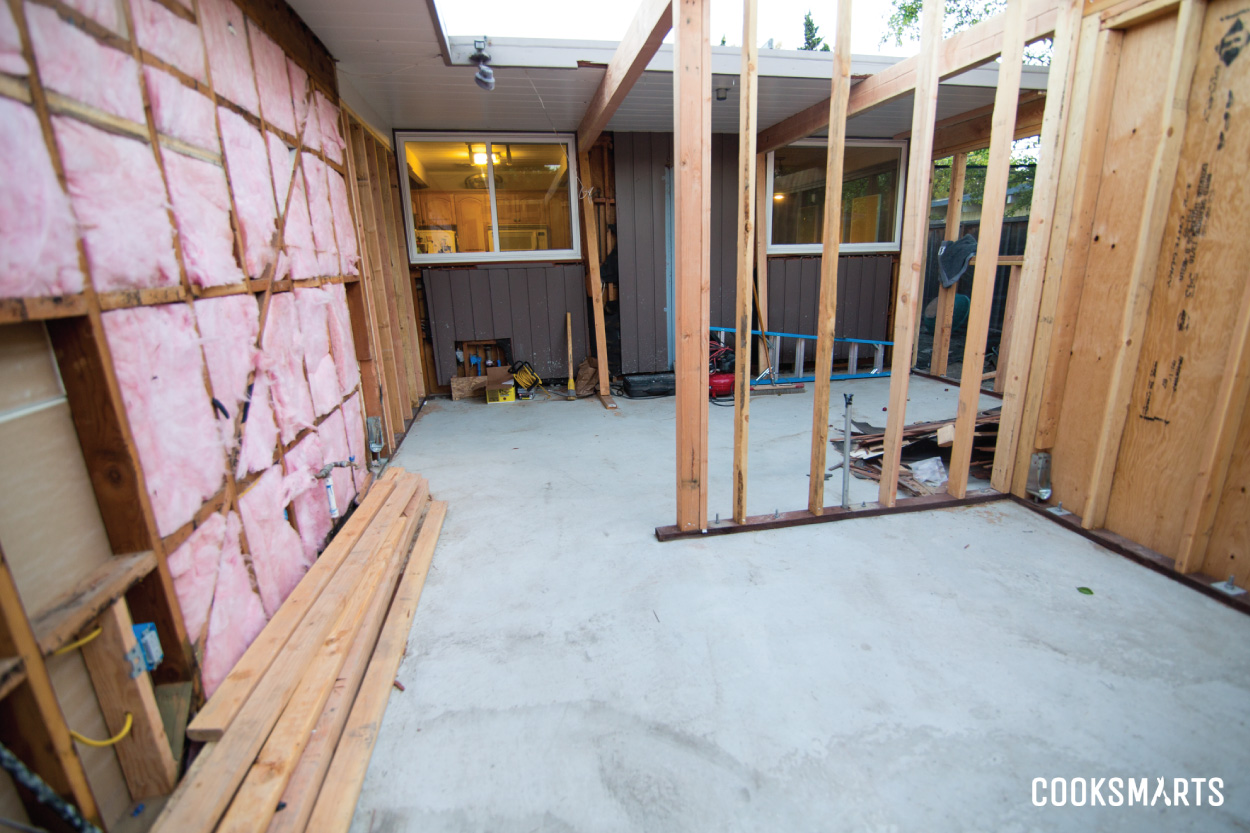
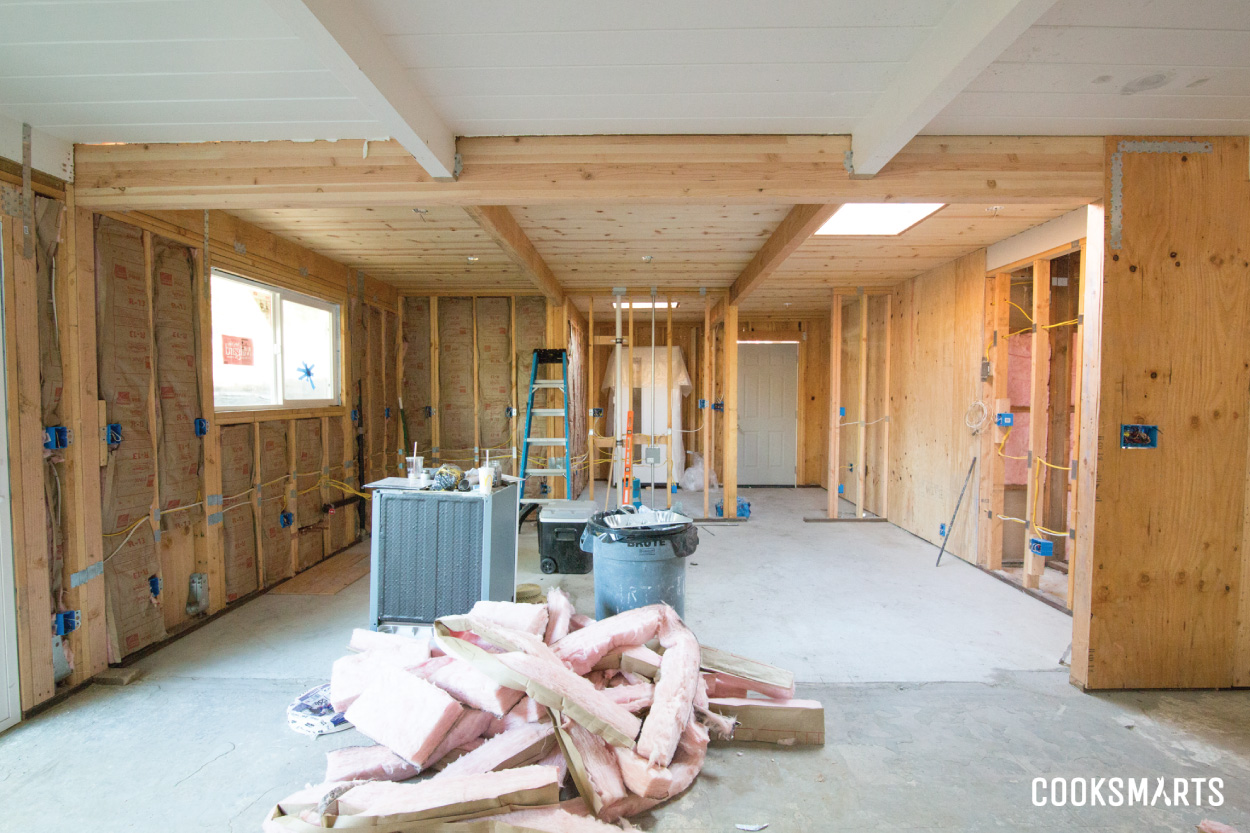
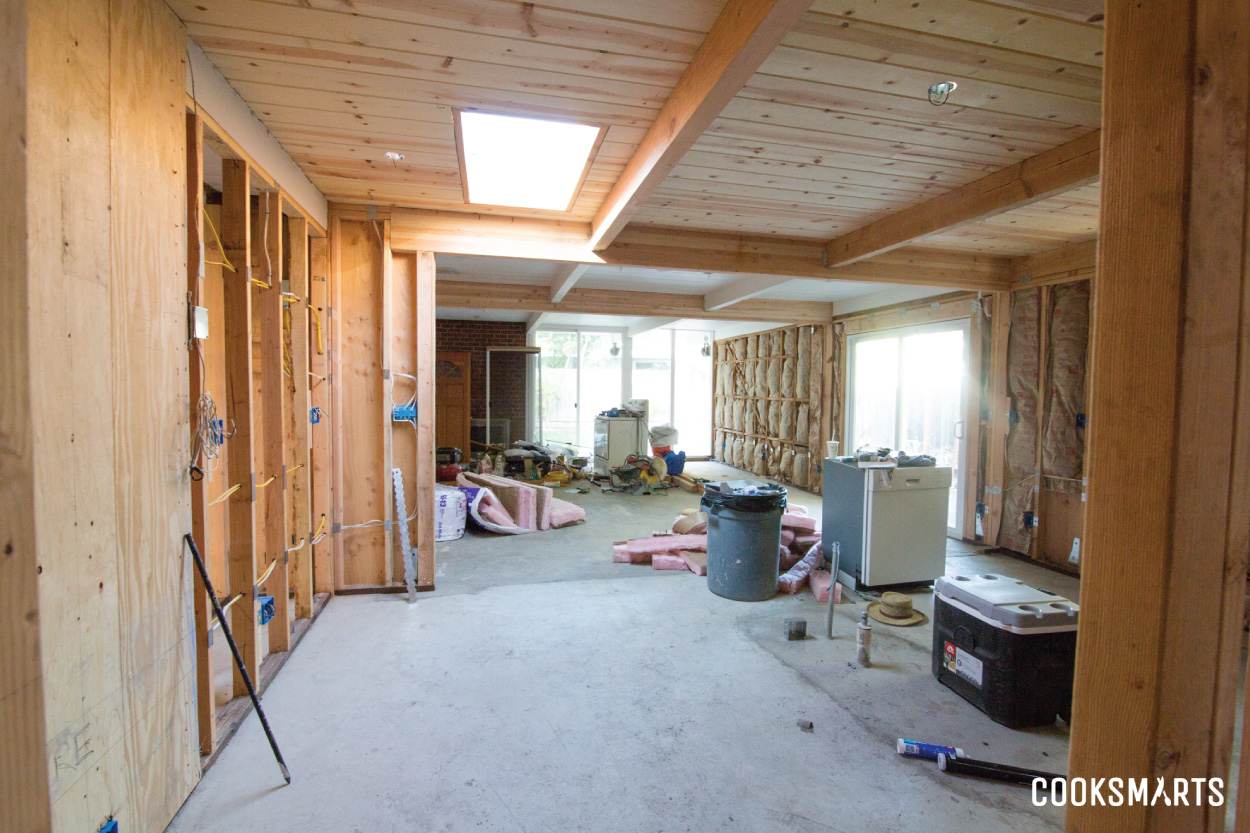
It was definitely a stressful time living through the remodel but also such a privilege to be able to take on this project. Now that it’s all done, I’ve decided that home improvement projects are a bit like pregnancy and birth. You quickly forget about the inconveniences and pain because the result is so worth it. So even though it wasn’t ideal timing, I feel so lucky that we got to make our home a space that we can enjoy being in even more.
And here it is!
. . . After
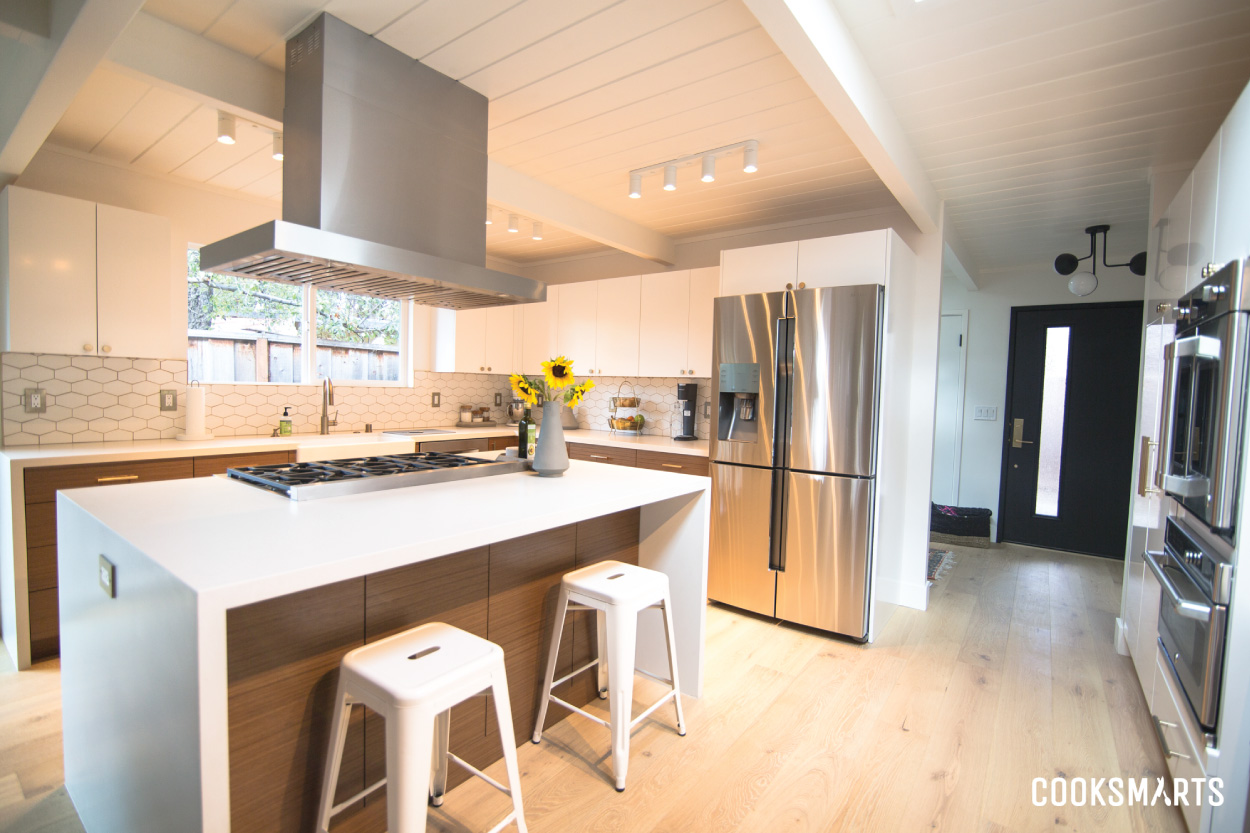
After working in my old kitchen for 5 years, I had a clear idea of what I wanted and didn’t want in a new kitchen, which helped me think through the layout, design choices and appliances.
Today, I’ll just cover layout and design and we’ll go through appliances in another post, because that’s a whole other beast.
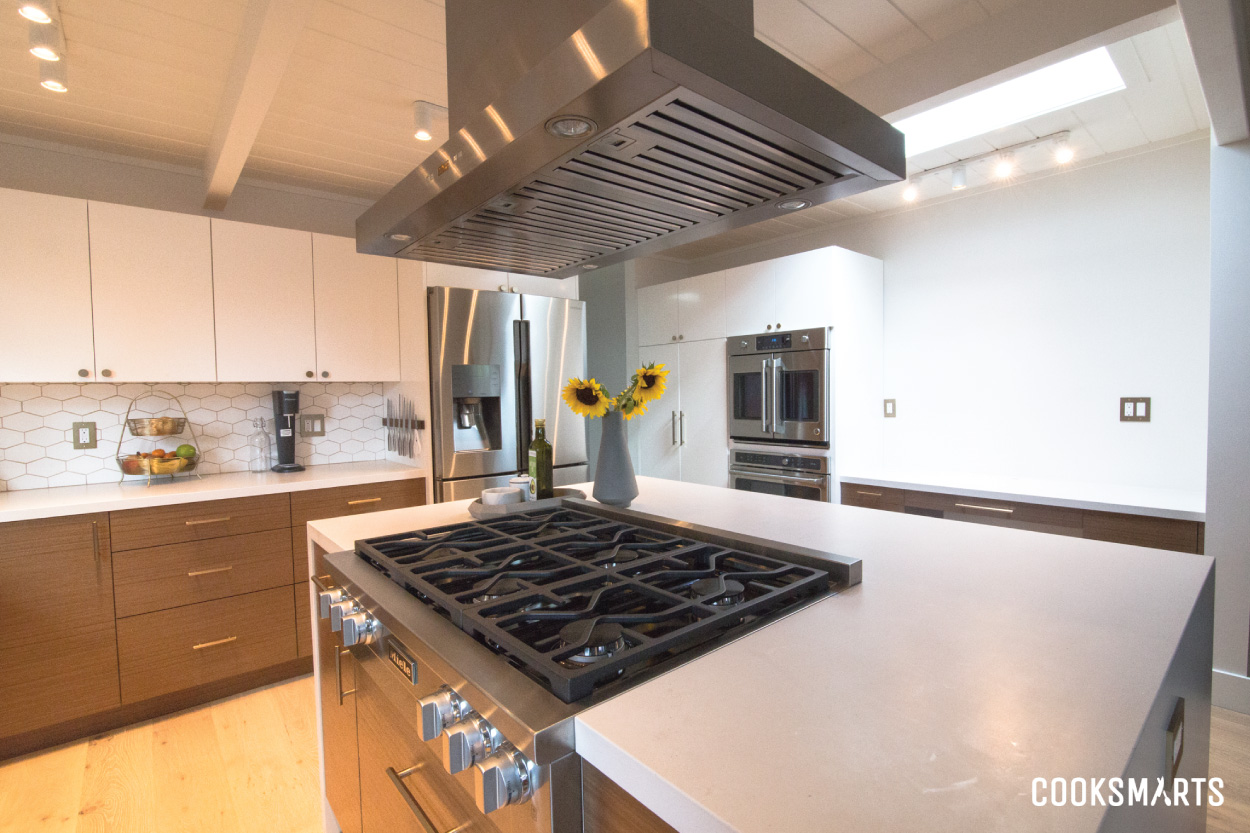
Creating My Ideal Kitchen Layout
This earlier post goes through how I thought through the most efficient kitchen layout, creating zones for prepping, cooking, cleaning up and putting away.
One of my layout must-haves was a kitchen island. Because I shoot a lot of videos for Cook Smarts, I wanted to place our range on the island so we could have more angles to shoot from.
Plus, I like that I’m not facing a wall when cooking at the range. In my old kitchen, if we were entertaining and I was still cooking, I often felt a bit left out in our closed-off kitchen. Now our kitchen is part of one open space that includes our dining and living area, so I can easily chat with friends or keep an eye on the kids while cooking. The one downside is that there’s no way to hide a messy kitchen. I guess that means I’ll be extra incentivized to keep everything tidy and clean!
Because my work is often in the kitchen, I also wanted to include a desk, which is situated next to the oven. I love that I can easily switch between computer and cooking work. Any ideas on what to put on the wall above the desk? I was thinking it might be a good place for some shelves to house my cookbook collection. And maybe a print from our shop?
Making Design Decisions
Like I mentioned in this post, I had hired a design-build firm so the designer and contractor were all part of the same team. This made the design and build phases a lot more streamlined, which probably saved us a lot of time and from a lot of surprises.
We started the design phase by having me pin kitchen designs that I liked onto a shared Pinterest board. It was clear from my pins that I liked bright and clean spaces, so my designers made suggestions based on the aesthetic I was going for.
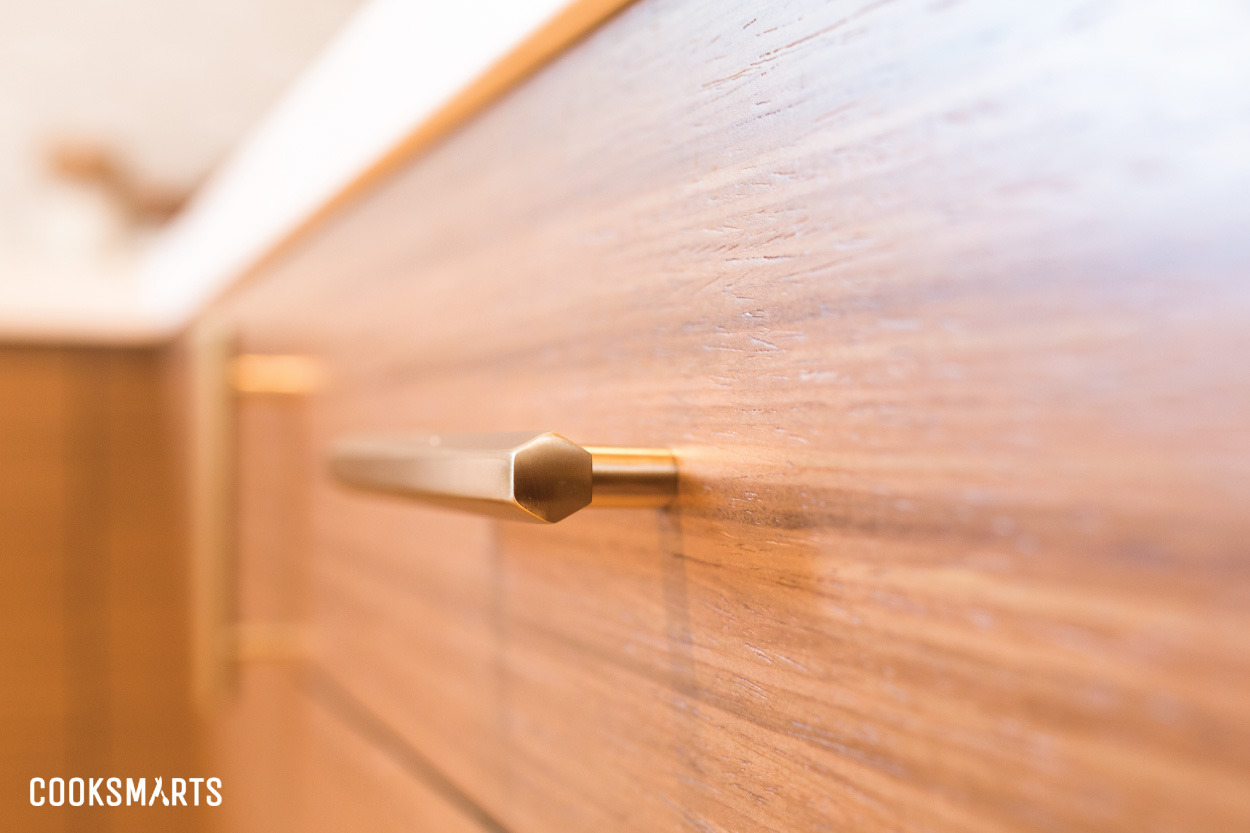
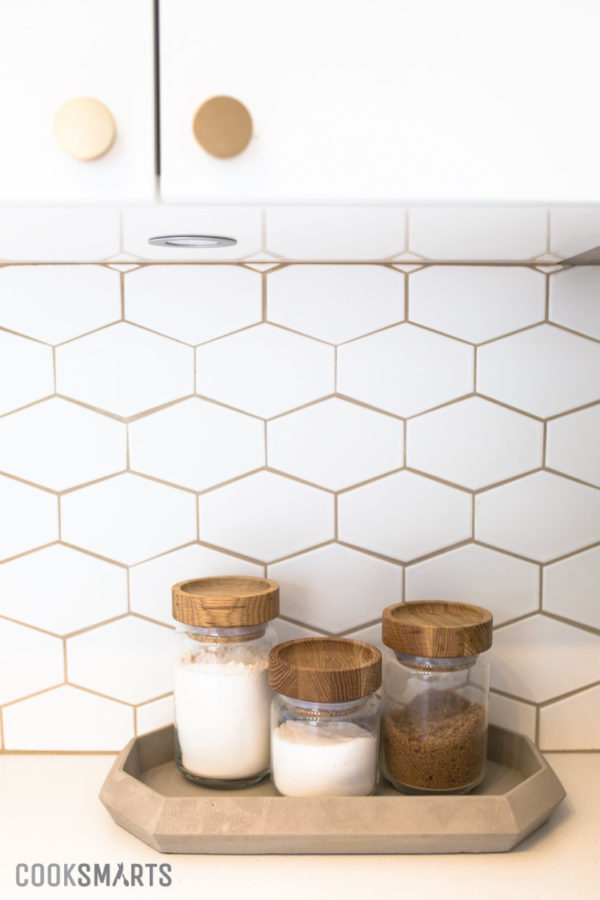
In the end, we created a lot of brightness from white upper cabinets, backsplash and countertops and also brought in lots of natural light with a big window as well as a skylight. To layer in warmth, I chose walnut for the lower cabinets and brass colored hardware. Our designers did a great job finding brass cabinet pulls and knobs and wall plates all to match the brass faucet we had chosen.
Even though I want things to look nice, my decisions are definitely also driven by practicality.
I chose a quartz countertop because it’s durable and can withstand a lot of kitchen activity. Most quartz is glossy but I wanted something matte because it would show fewer fingerprints and be easier to photograph on. I settled on Caeserstone’s Fresh Concrete and even though it required more material, I’m glad we sprung for the waterfall edges, which give the whole kitchen such clean lines.
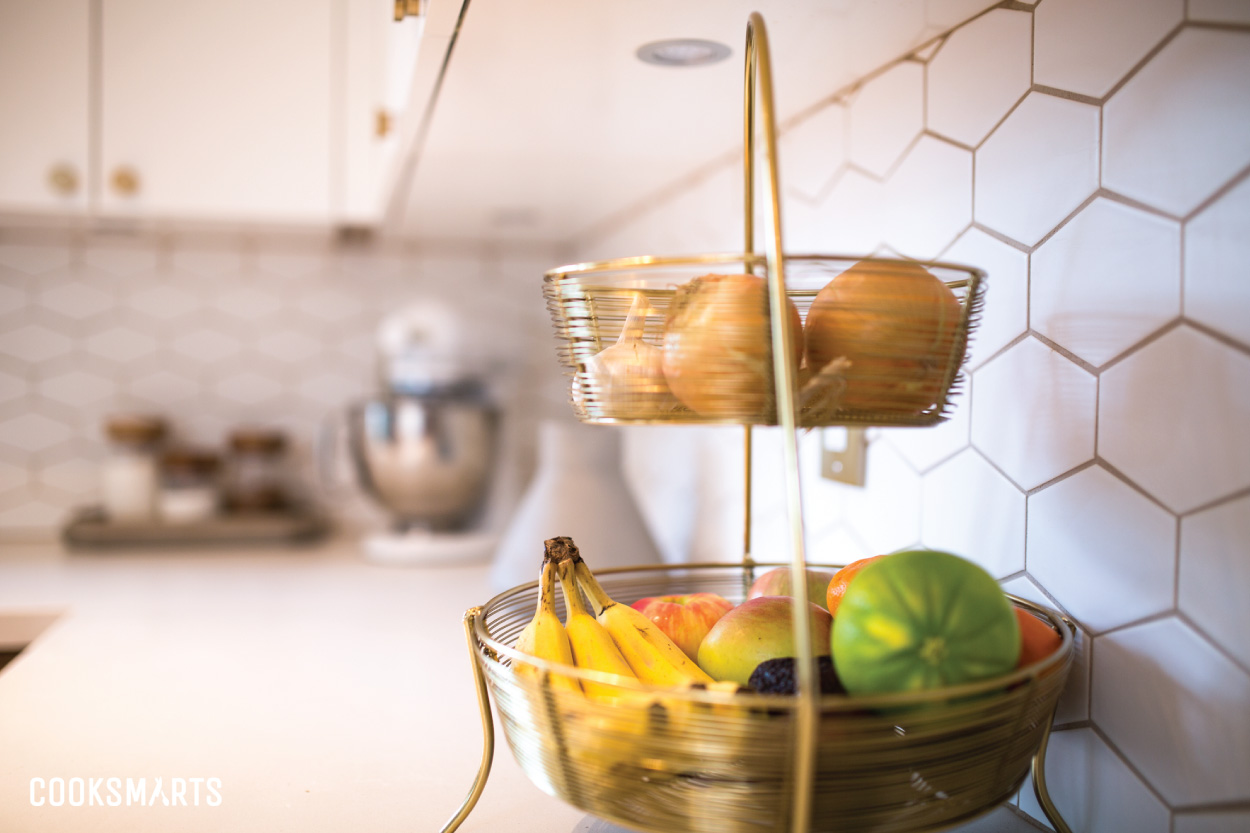
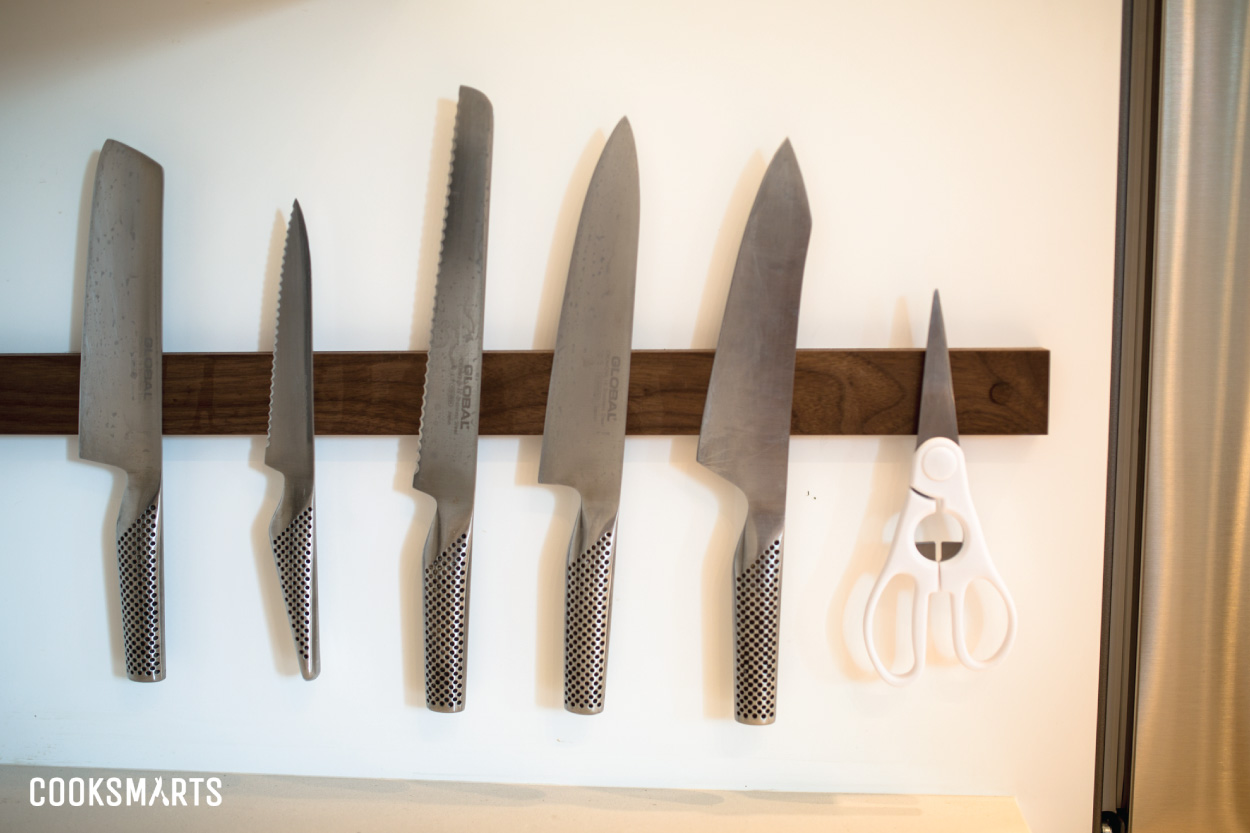
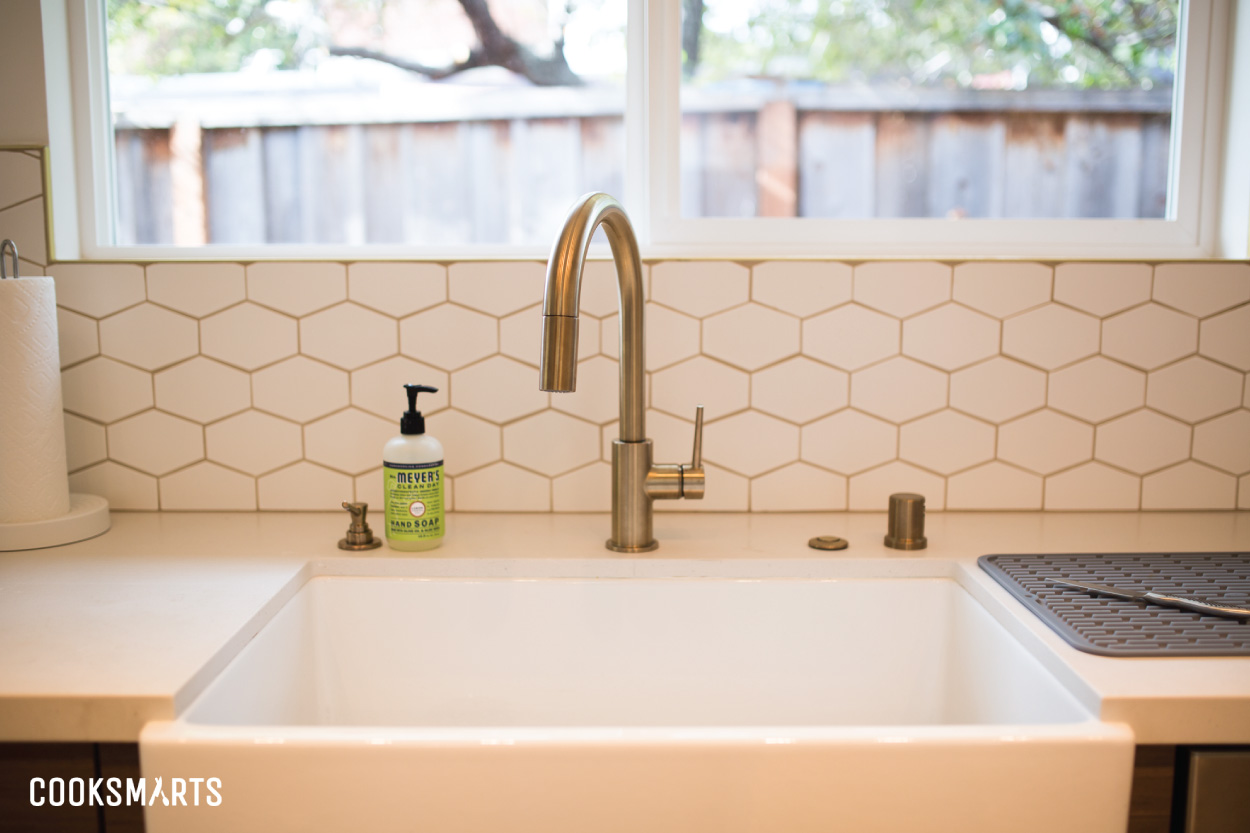
Here’s where you can find all the above design elements:
- Cabinet and drawer pulls from Emtek’s Urban Modern collection
- Cabinet knobs from Emtek’s Urban Modern collection
- Glass jars from The Container Store
- Concrete tray from Kure
- Backsplash tiles from Kiln in Milk White
- Two-Tiered Gold Basket from Target
- Magnetic walnut knife rack from Amazon
- Faucet by Delta
- Fireclay farmhouse sink from Home Depot
Have you gone through a big remodel? How did you think through design and layout? Let us know in the comments below.
We’ll tackle appliances and take a peek inside all my cabinet and drawer organization in two future posts, so be sure to sign up for the newsletter below so you can hear all about it first!

