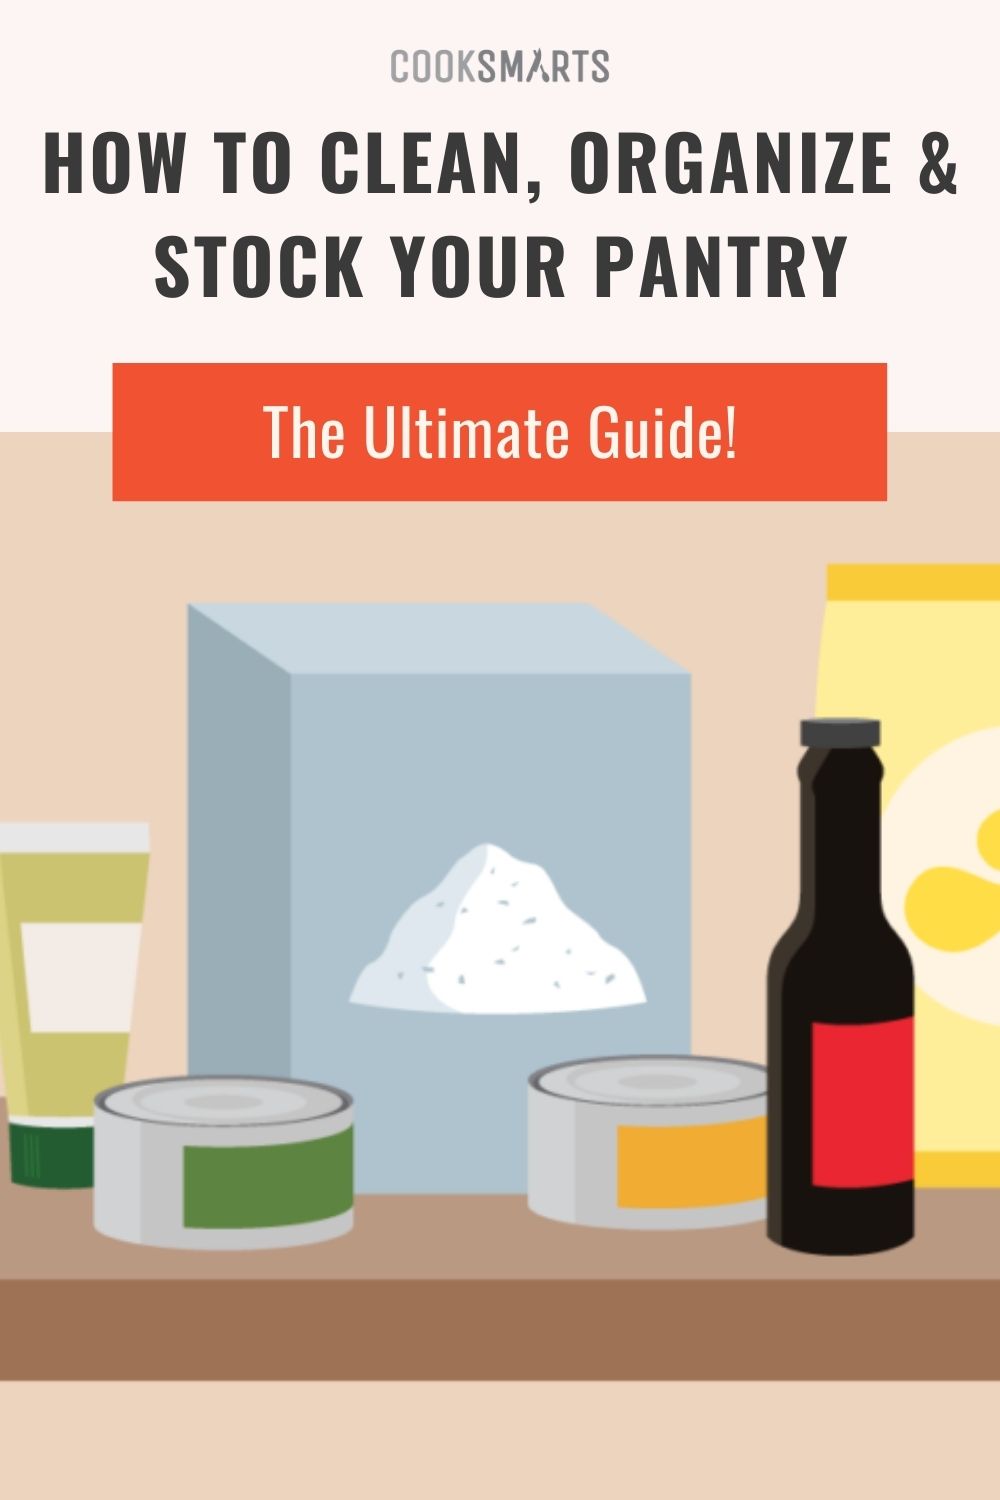
How to Clean, Organize, and Stock Your Pantry
Save money, reduce food waste, and bring more zen into your kitchen with our guide on how to clean, organize, and stock your pantry!
If your pantry is either (a) filled to the brim with an assortment of foods that may or may not ever get used or (b) a barren wasteland that requires you to run to the grocery multiple times a week for essentials, you may be suffering from inefficient pantry practices.
Don’t worry, it’s completely curable. In fact, you may find that the remedy is actually a little fun. In the spirit of spring cleaning, we’re showing you how to clean, organize, and build a pantry that will help you save money, reduce food waste, and bring more zen into your kitchen!
1. Do a Pantry Inventory
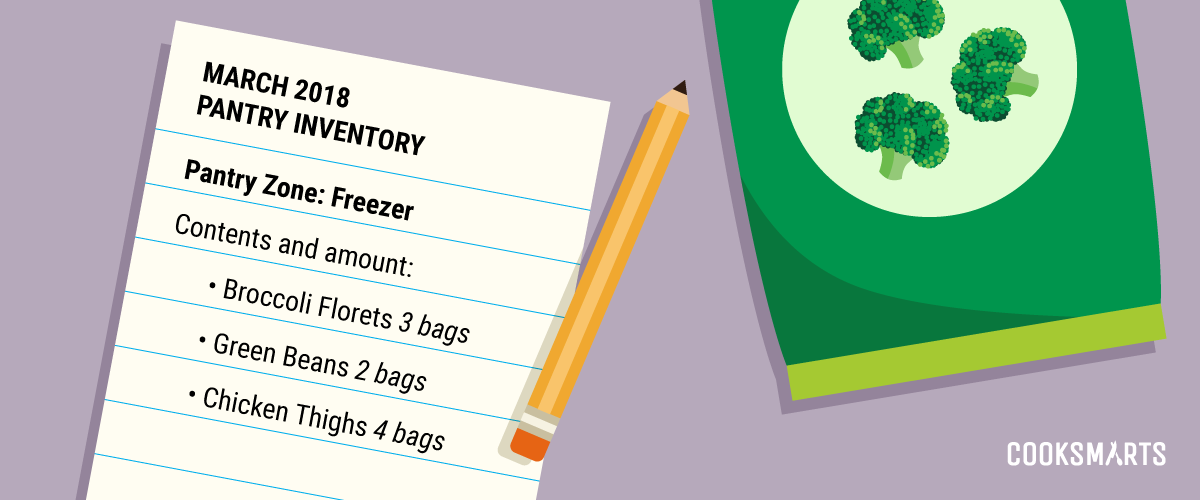
Step one of the cleanup process is to take inventory of your pantry. We define “a pantry” as any area in the kitchen that is used for food storage, including the freezer, refrigerator, spice drawers, and storage cabinets.
To take inventory, first select a pantry zone, for example, the freezer. Then remove all of the contents of the zone and lay them out on your kitchen table or counter. Pull out your phone or a pad and pen and write down the food items and the amount of each.
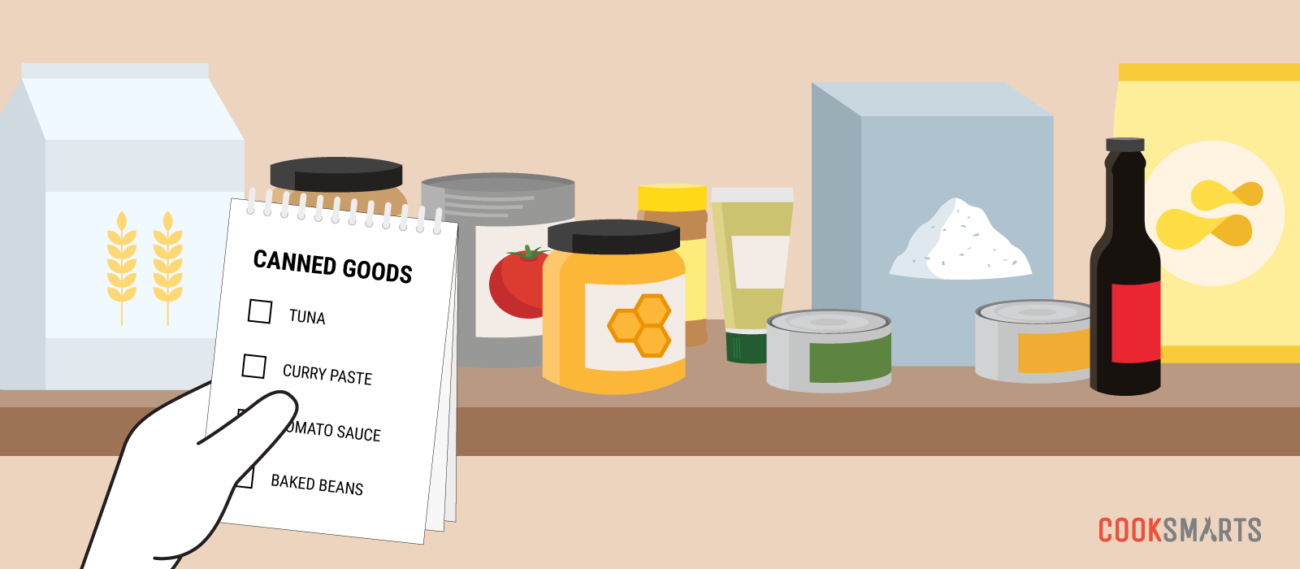
Taking pantry inventory is a good way to see which foods you actually eat, which you don’t, and which ones you currently have on hand so you can refine your shopping list to save money and reduce food waste.
Do a pantry inventory at least twice a year, and set reminders in your calendar so you’ll know when to do it. Not only will this help you keep on top of your pantry, it will also help you keep track of changes in your personal tastes over time. So if in six months during your next scheduled inventory you see that you haven’t touched that popcorn in your pantry, you’ll know it’s not a food you frequently eat and can confidently scratch if off your grocery list.
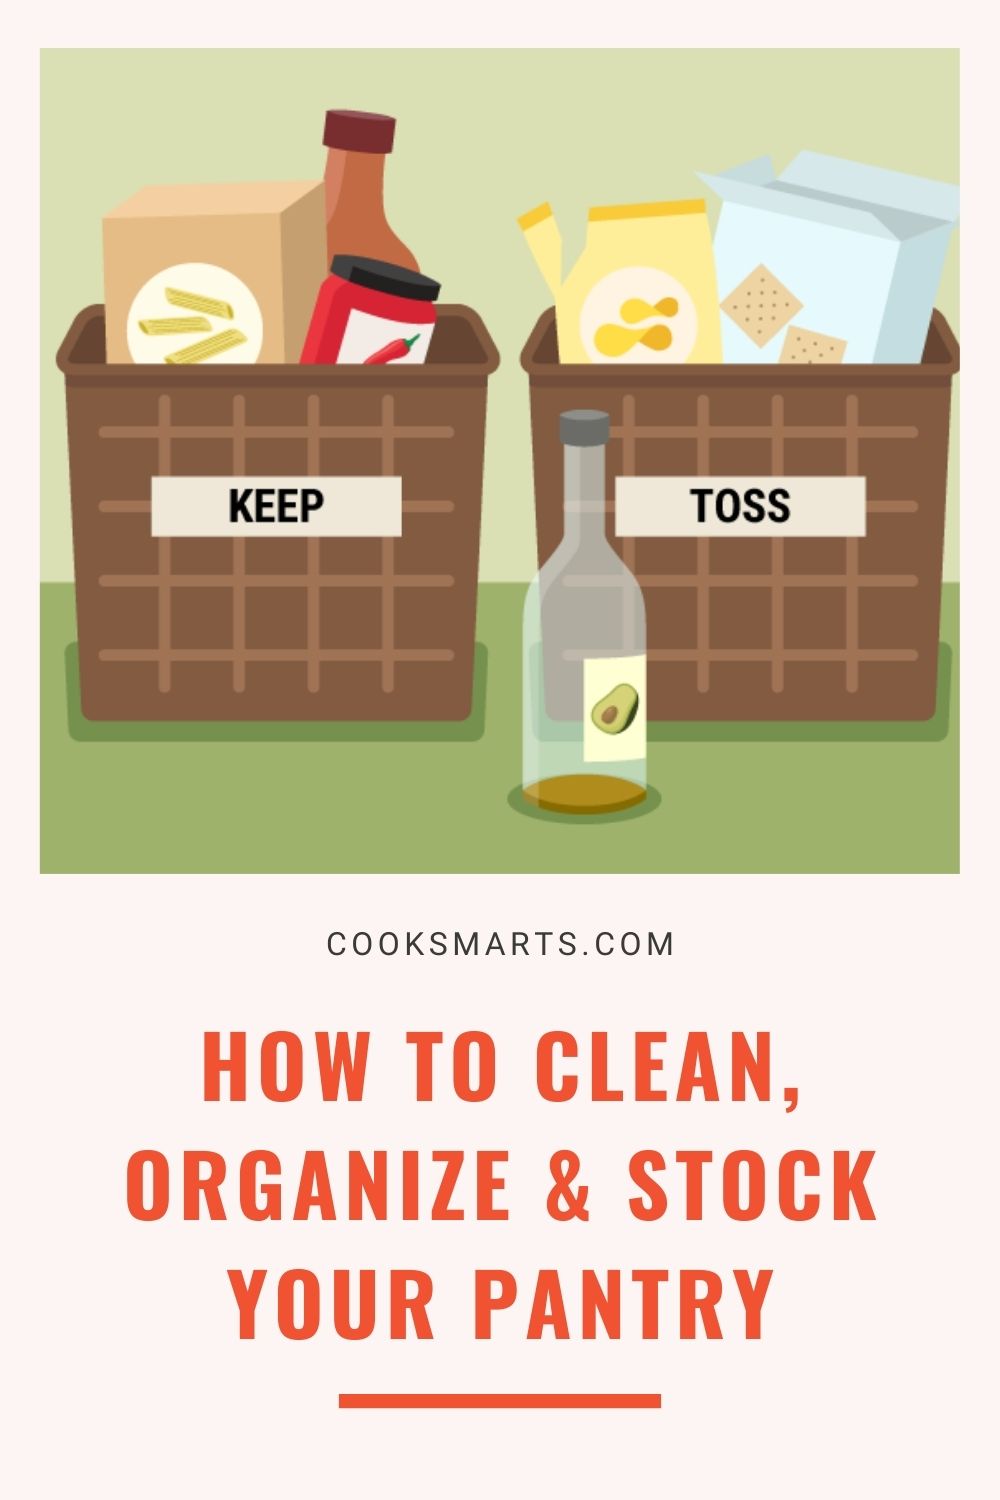
2. Declutter as You Go
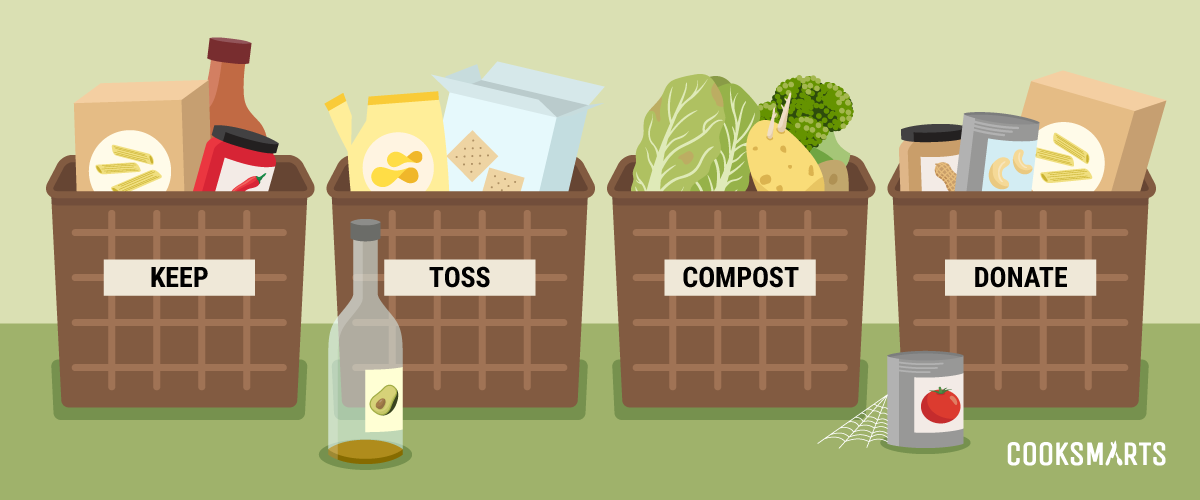
After taking inventory, separate your pantry items into one of four groups: keep, toss, compost, or donate. Start by checking the expiration dates on all of your items. Toss anything that’s expired as well as:
- Stale crackers or bread
- Almost-empty boxes or bottles
- Spices and herbs which have lost their flavor (learn how to properly store herbs with our Guide to Herbs)
- Oils which have gone rancid (learn how to properly store oils with our Guide to Oils)
Once you’ve tossed expired items, keep the refining process going by establishing a baseline rule to help you quickly decide what to save, toss, or donate. Tidying-up expert, Marie Kondo suggests only keeping items in your home which “spark joy.” While this is definitely a smart rule, we understand a box of pasta may not spark joy, so we recommend, at the very least, that you keep only what has a purpose. After all, if you never eat pasta, why keep it? A good baseline rule is, “I will only keep what I know I will use.”
Here are a few questions to ask yourself as you go through the sorting process:
- When was the last time I used this?
- Can I make a meal with this today?
- Does this item have a purpose?
- Do I enjoy eating this?
- Will I ever use this?
For items that are still viable but won’t get used, put them in the donate pile to bring to your local food bank. If you have produce that won’t get eaten, toss it in the compost bin or contact your local community garden to see if they take compost donations. If you need to, toss the old produce and know that by cleaning out your pantry today, you’ll be able to reduce food waste in the future.
*Note: Make sure the food items you donate are not expired! Even if items are still usable for a time after their Best Before Date, food banks will not be able to distribute them.
3. Clean Pantry Zones and Contents
Once you’ve sorted all of your pantry items, it’s time to clean. Start by wiping down the inside of your cabinets with a damp cloth. Then follow with a dry cloth. Next, wipe down containers like spice jars and other bottles which may have collected dust. Move on to the freezer and refrigerator. Keep cleaning until each pantry zone is crumb, spill, and dust-free.
When you’re ready to expand to cleaning the whole kitchen, use our Kitchen Maintenance Guide to know what, how, and when to clean.
Kitchen Maintenance Guide
A handy infographic that tells you what kitchen appliances and areas to clean, how to do it and how often to repeat the process.
4. Organize with Storage Containers and Labels
Remember that box of pasta we talked about earlier? While it may not have “sparked joy” then, what if we put it in a glass container with a label? Organized ingredients, with their own designated places, can definitely spark joy. Plus, food that’s organized is much easier to keep track of and, if stored properly, can stay viable longer.
Before you add any food back into the pantry zones, think about how you want to organize the space. We recommend you:
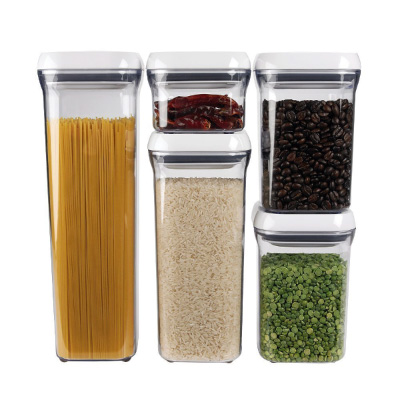
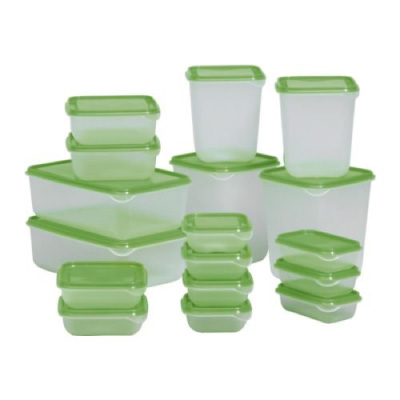
- Use clear containers for bulk ingredients. Store grains, flours, nuts, seeds, etc. in clear airtight storage containers with labels. This will not only make your pantry more organized, but also protect your food from bugs.
- Create designated spaces. Give foods a designated “home” so you always know what’s on hand and can avoid buying ingredients you already have. Two areas we recommend creating are: an “unopened” area and “not yet in routine” area. The unopened area is where you can put extra ingredients, for example, soy sauce you found on sale, but won’t need to use until you run out of the bottle that’s already in your pantry. The “not yet in routine” area is where you put ingredients you want to use, but haven’t yet worked into your everyday cooking. Check this area before selecting a recipe to ensure you use the ingredients.
- Group like items together. Put baking ingredients with baking ingredients, cans with cans, and boxed ingredients with boxed ingredients so you’ll always have a general idea of where to find what you need.
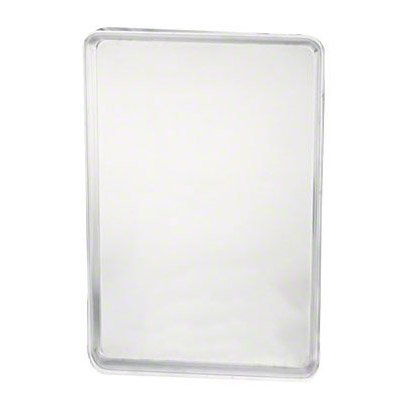
- Use food storage containers or sheet pans to hold grouped items. Place your grouped items inside containers or on sheet pans to keep them looking neat and tidy.
- Spice storage and shelves. If you have difficulty seeing past the first row in your pantry closet, try using storage shelves that display your goods on multiple levels to make better use of your space.
5. Make a Meal Plan
Now that your pantry is organized and only contains foods that you can and will eat, it’s time to make a meal plan! The goal of the meal plan is to use up what’s already in your pantry before heading to the store to restock. Have extra cans of corn? Use them in a Mexican corn and bean salad, add them to tacos, or turn them into a creamy soup.
When making your meal plan, think about dishes that can be easily adapted to work with a variety of ingredients like:
- Tacos
- Soups
- Pastas
- Salads
- Stir-fries
- Rice dishes
The good news about using Cook Smarts meal plans is that each week you get a grocery list so you always know what to buy and that it will get used.
If you aren’t totally sure how to make a meal plan that will reduce food waste (and save money!), click here to read some of our best tips. Then download our free Meal Plan Toolkit below which includes a meal plan template that you can use to organize your weekly meals:
Meal Planning Toolkit
We share all of our secrets, step-by-step process, and so much more!
Need a Meal Planning System?
We're sharing all of our secrets in our toolkit, complete with our process and templates for you to use!
I acknowledge by requesting this info, I'll be added to Cook Smarts' newsletter list. I can unsubscribe at any time.
6. Restock With Pantry Staples
Your pantry is now clean and clear (congrats!), which means there’s only one step left: to restock it with pantry essentials!
Stocking your pantry with staples saves you time, money, and ensures you’re never far from a home-cooked meal. But if you aren’t sure how to do it, below is a quick list of some of the foods you may want to keep in your kitchen.
(Note: This list is for a non-dietary restricted diet. For specific diets, check out our vegetarian pantry list, Paleo pantry list, and gluten-free pantry list.)
- Grains. Whole grains like brown rice, steel cut oats, farro, as well as quick-cooking grains like white rice and quinoa (learn more in our Guide to Whole Grains).
- Pastas. Buckwheat soba noodles, orzo, rice noodles, and Israeli couscous.
- Nuts. Cashews, almonds, pistachios, and walnuts, as well as your favorite nut butters.
- Legumes. Black beans, garbanzo, lentils, split peas, and cannellini.
- Seeds. Sunflower, pumpkin seeds, and sesame.
- Flours. All-purpose flour, breading like panko, and thickeners like cornstarch and arrowroot powder.
- Canned fish. Sardines, tuna, and salmon.
- Basic bases. Diced tomatoes, coconut milk, broth, and stock.
- Oils. Avocado oil (high smoke point) and olive oil (all-purpose).
- Vinegars. Apple cider, balsamic, rice, and red wine.
- Condiments. Ketchup, jellies, anchovy paste, fish sauce, Worcestershire sauce, harissa, mustard, mayonnaise, sour cream, and yogurt.
- Ethnic bases. Miso paste, curry bases, pasta sauce, and enchilada sauce.
- Spices. Start with 6 to 8 of your favorite spices and then branch out. Our most commonly used spices include black pepper, coriander, cumin, and paprika.
- Herbs. One or two bunches of fresh herbs, as well as dried herbs like basil, bay leaves, oregano, and parsley.
- Aromatics. Garlic, carrots, onions, and celery (see our Guide to Aromatics).
- Citrus. One fresh lemon or lime per week.
- Butter. Butter or ghee (clarified butter).
- Frozen proteins. Meat proteins like chicken, pork, shrimp, steak, and lamb, as well as plant proteins like edamame and tofu (learn how to store frozen food with our Guide to Frozen Food Storage).
- Frozen veggies and fruits. Broccoli, butternut squash, carrots, cauliflower, peas, green beans, berries, mango, and pineapple.
- Frozen starches. Breads, tortillas, and uncooked fresh noodles.
- Frozen meals. Soups, casseroles, and meat-based dishes (see our Top 10 Freezer-Friendly Meals).
To learn more about building a smartly-stocked pantry, use our Pantry Essentials Guide for ingredient ideas and tips on how to use them:
Pantry Essentials Guide
Keep your pantry stocked with these basics, so you'll never be far from a simple, healthy meal.
Get Our Pantry Essentials Guide
And make sure you're never far from a home-cooked meal
How do you keep your pantry clean and tidy? Any pantry organization tips you want to share? Let us know in the comments!
As always, we’re here to help you live your best life in the kitchen and provide delicious memories for you and your family. For more cooking tips and resources sent straight to your inbox, sign up for our newsletter below, and we’ll help you raise your kitchen IQ and cook with confidence!
A little note: Some of the above links are Amazon affiliate links, which means we earn a small percentage from those sales. We use this affiliate revenue to support the continued growth of Cook Smarts. Thank you!
